When I think of dessert that strikes the perfect balance between indulgence and nostalgia, Black Forest Cheesecake Bars come to mind. The moment I sink my fork into a rich, chocolatey layer topped with luscious cherries, I’m transported back to carefree summer picnics and festive family gatherings. It’s like tasting a piece of celebration in every bite.
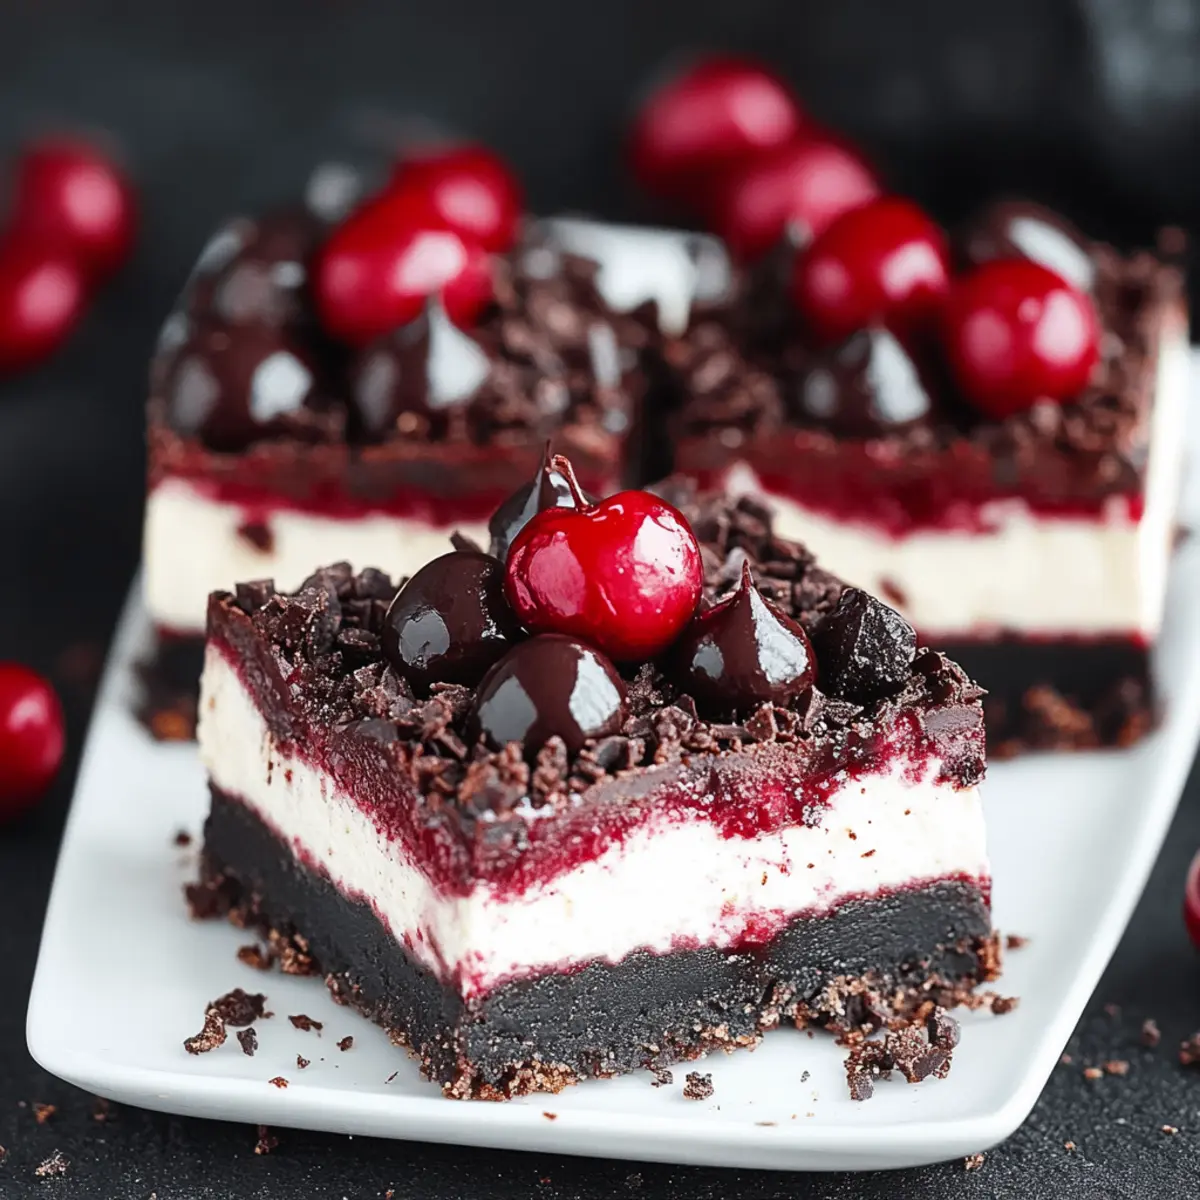
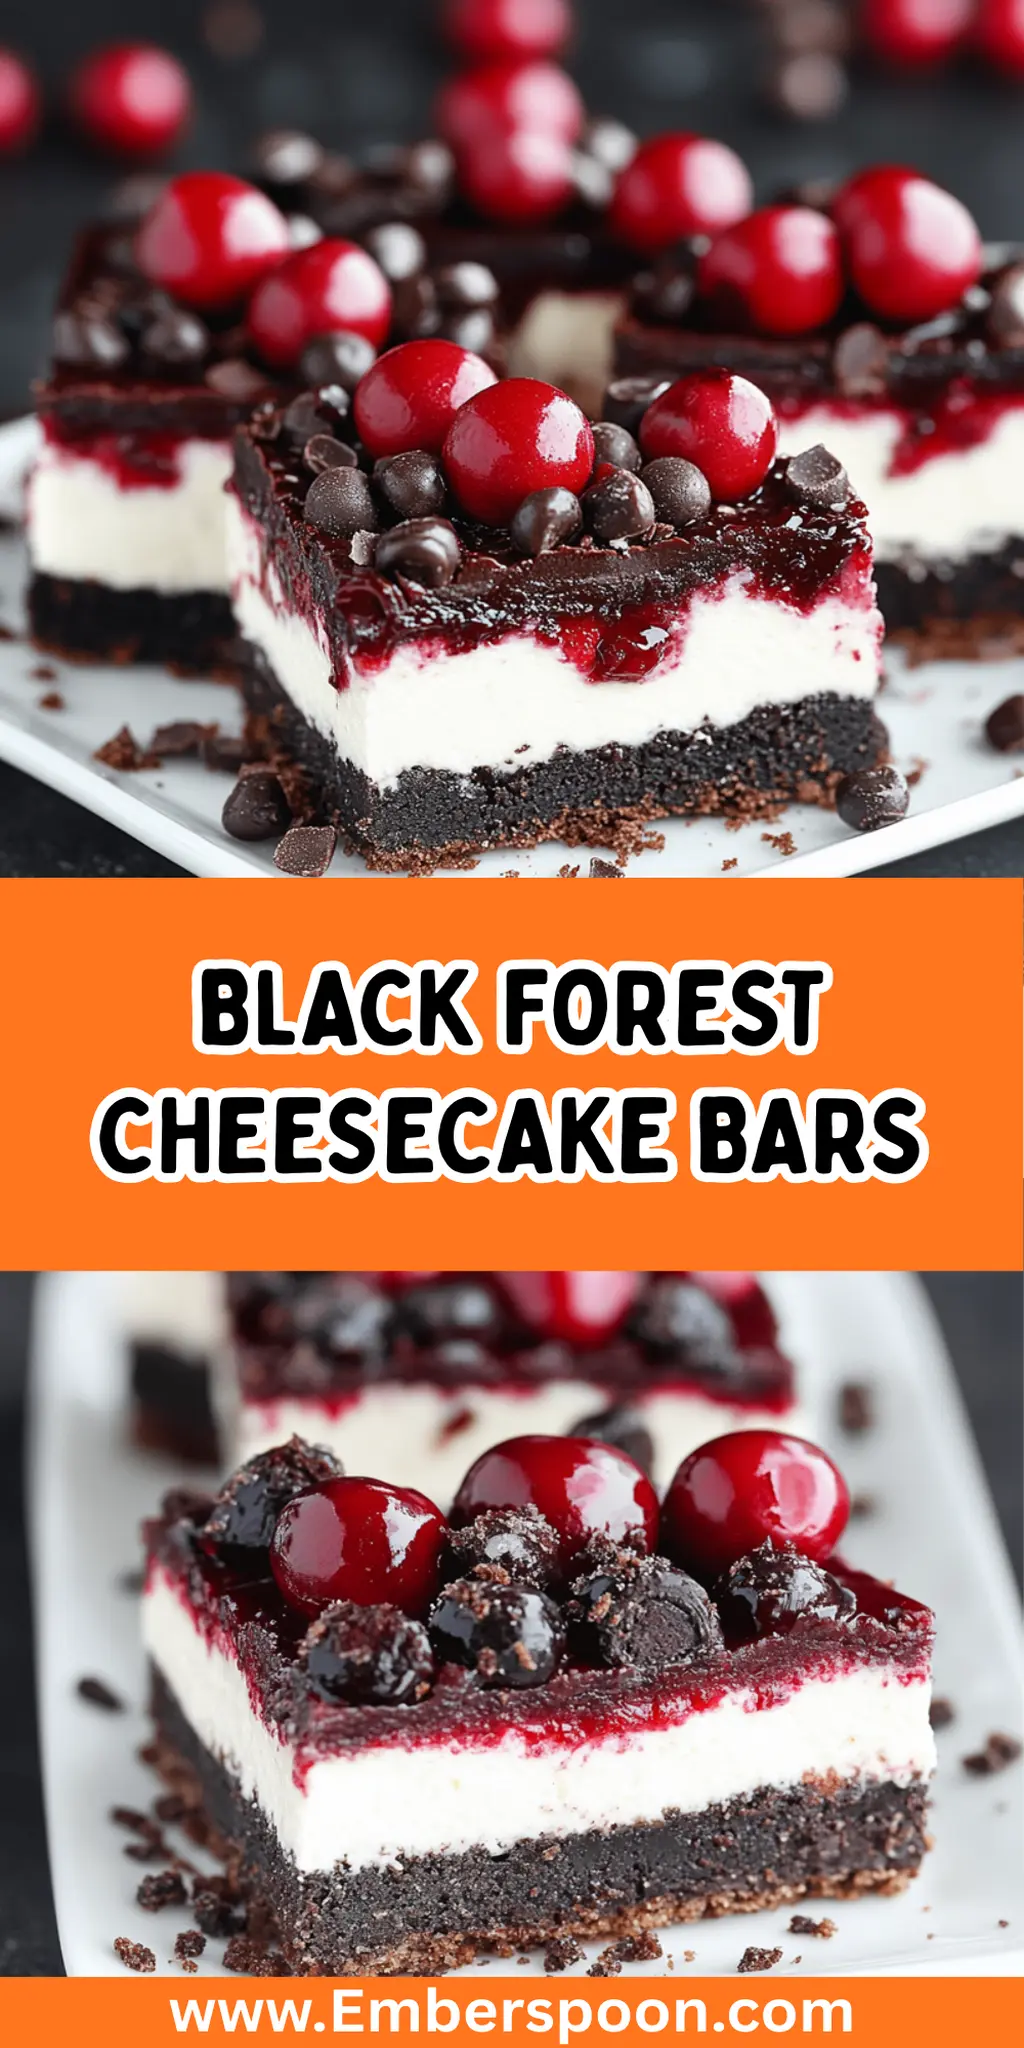
I unearthed this recipe on a chilly afternoon when I wanted something sweet yet satisfying—something that would wow my friends and family without taking hours in the kitchen. These cheesecake bars are incredibly easy to make, and the combination of creamy cheesecake, a rich chocolate crust, and a tart cherry topping is nothing short of heavenly. Best of all? They’re versatile enough to please both chocolate enthusiasts and fruit lovers alike.
So, if you’re ready to elevate your dessert game and impress your guests, let’s dive into making these delightful Black Forest Cheesecake Bars!
Why You'll Love This Black Forest Cheesecake Bars
- These Black Forest Cheesecake Bars are incredibly easy to whip up, making them perfect for anyone, from novice bakers to experienced chefs.
- The rich, chocolatey layer combined with the sweet cherry topping creates a flavor explosion that’s sure to wow your taste buds.
- Not only are they crowd-pleasers, but their beautiful presentation will make you the star of any gathering.
- With minimal prep time, you can spend less time in the kitchen and more time enjoying the sweet moments with your loved ones.
Black Forest Cheesecake Bars Ingredients
• Get ready to create something magical!
For the Crust
- Chocolate cookie crumbs – These provide a deliciously rich base that perfectly complements the cheesecake layer.
- Unsalted butter – Helps bind the crust together for a firm and tasty foundation.
- Sugar – Adds a touch of sweetness to balance the chocolate flavor.
For the Cheesecake Filling
- Cream cheese – The star of the show! Make sure it’s softened for a smooth and creamy texture.
- Sugar – Sweetens the filling and enhances the overall flavor of the cheesecake.
- Large eggs – Essential for providing structure and that classic cheesecake texture.
- Vanilla extract – A must-have for depth of flavor; it elevates the sweetness and creaminess.
- Sour cream – Adds richness and a slight tang, making the cheesecake incredibly smooth.
- Cocoa powder – Infuses the filling with rich chocolate goodness and ensures your Black Forest Cheesecake Bars are decadent.
For the Cherry Topping
- Cherry pie filling – Provides a tart, fruity contrast that perfectly complements the rich cheesecake.
- Cornstarch (optional) – Use for thickening the cherry filling to give it a lovely consistency.
- Water (optional) – Mix with cornstarch to create a slurry if you’re thickening the filling.
Enjoy crafting this delightful dessert that is sure to become a cherished favorite!
How to Make Black Forest Cheesecake Bars
-
Preheat your oven to 325°F (160°C). Line an 8×8-inch baking pan with parchment paper, allowing some overhang. This makes removing your cheesecake bars effortless later on!
-
Mix the chocolate cookie crumbs, melted butter, and sugar in a medium bowl until everything is well combined. You’re aiming for a crumbly, wet mixture that holds together nicely.
-
Press this mixture firmly into the bottom of your prepared baking pan. It should create an even layer. Bake for 10 minutes, then remove from the oven and let it cool completely.
-
Beat softened cream cheese and sugar together in a large mixing bowl until you achieve a smooth and creamy texture—no lumps here! This is where your cheesecake magic begins.
-
Add the eggs, one at a time, mixing well after each addition. Then, stir in the vanilla extract, sour cream, and cocoa powder until everything is fully combined and has a beautiful chocolate hue.
-
Pour the cheesecake filling over your cooled crust, spreading it evenly. Look at that gorgeous mixture—it’s going to be so delicious!
-
Bake in the preheated oven for 25-30 minutes. The center should be set, and the edges should turn lightly golden. Once done, take it out and allow it to cool to room temperature.
-
Combine the cherry pie filling with cornstarch and water (if using) in a small saucepan over medium heat. Stir gently until it thickens slightly, about 2-3 minutes. This step ensures a lovely texture for your topping.
-
Remove from heat and let it cool slightly. A little patience here makes all the difference!
-
Spread the cherry topping evenly over the cooled cheesecake layer once it has completely cooled. The vibrant color will be a stunning contrast!
-
Cover and refrigerate for at least 2 hours, allowing the bars to chill and set fully. Trust me—this is worth the wait.
-
Lift the cheesecake out of the pan using the parchment overhang. Cut into bars and serve chilled. Enjoy every bite of this heavenly treat!
Optional: Garnish with whipped cream for an extra indulgent touch.
Exact quantities are listed in the recipe card below.
What to Serve with Black Forest Cheesecake Bars?
Create a delightful feast around these decadent bars with the perfect accompaniments that enhance their rich flavors.
-
Whipped Cream: This light and airy addition adds a luxurious finish, balancing the sweetness of the bars beautifully.
-
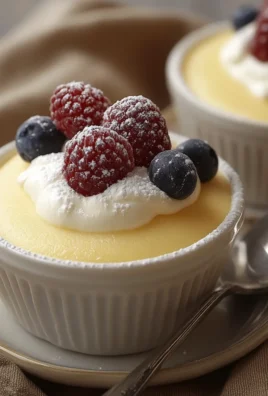
Fresh Berries: A mix of tart raspberries and sweet strawberries introduces a refreshing contrast, brightening up each bite.
-
Chocolate Drizzle: A warm, molten chocolate sauce drizzled over the top adds an irresistible touch that every chocolate lover will adore.
-
Coffee or Espresso: Sipping on a strong cup of coffee or a creamy espresso complements the chocolatey richness, creating a sophisticated dessert experience.
-
Vanilla Ice Cream: The creamy vanilla ice cream serves as a delightful counterpoint to the cheesecake, turning each portion into a dreamy treat.
-
Sweet Wine: A chilled, fruity dessert wine or sweet Riesling enhances the cherry topping’s flavor profile, elevating your dessert table.
Indulge in these pairings to create a memorable moment around your Black Forest Cheesecake Bars!
How to Store and Freeze Black Forest Cheesecake Bars
Fridge: Store your Black Forest Cheesecake Bars in an airtight container for up to 5 days. This keeps the bars fresh and delicious for enjoying daily!
Freezer: For longer storage, freeze the bars wrapped tightly in plastic wrap and then aluminum foil for up to 3 months. This preserves their delightful texture and flavor.
Thawing: To enjoy frozen bars, transfer them to the fridge for about 4-6 hours or overnight to thaw. This ensures they’re perfectly chilled and ready to tempt your taste buds!
Serving Tips: If you’re serving chilled bars straight from the fridge, allow them to sit at room temperature for a few minutes for a softer, creamier bite.
Black Forest Cheesecake Bars Variations
Feel free to embrace your culinary creativity and customize these delightful bars to suit your tastes!
- Gluten-Free: Use gluten-free chocolate cookie crumbs to make the crust, ensuring everyone can enjoy them!
- Fruit Swap: Replace cherry pie filling with raspberry or strawberry for a fresh twist that’s equally delicious.
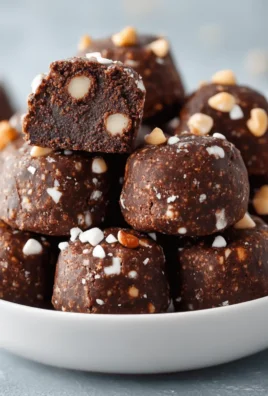
- Nutty Addition: Fold in crushed walnuts or pecans into the cheesecake filling for added crunch and flavor depth.
- Dairy-Free: Substitute cream cheese with a plant-based version and use coconut cream for a creamy texture.
- Extra Chocolate: Mix in chocolate chips to the cheesecake filling for an even richer chocolate experience.
- Spicy Kick: Add a pinch of cinnamon or a splash of almond extract to elevate the flavor profile with a warm touch.
- No-Cook Cherry Topping: For a faster option, use fresh or frozen cherries mixed with a bit of sugar instead of the heated pie filling.
- Layered Delight: Create a layered effect by alternating layers of cheesecake and cherry filling for an appealing presentation.
Each variation gives you a chance to create your very own version of these heavenly Black Forest Cheesecake Bars!
Make Ahead Options
These Black Forest Cheesecake Bars are perfect for meal prep enthusiasts! You can prepare the chocolate crust up to 24 hours in advance by mixing the cookie crumbs, butter, and sugar, then pressing it into the pan and refrigerating it. The cheesecake filling can be made up to 3 days ahead; just wait to pour it over the crust until you’re ready to bake. To maintain their quality, cover the completed bars tightly and store them in the refrigerator. When you’re ready to serve, simply finish by adding the cherry topping and allowing them to chill for a couple of hours. This way, you’ll have a delectable dessert ready to enjoy with minimal last-minute effort!
Chef's Helpful Tips
- To ensure your Black Forest Cheesecake Bars have a fantastic crust, press the chocolate cookie crumb mixture firmly into the bottom of the baking pan to avoid a crumbly texture after baking.
- Always use softened cream cheese for your filling; this prevents lumps and gives you that smooth, creamy consistency essential for a perfect cheesecake.
- When mixing in the eggs, add them one at a time to allow for even incorporation, which helps to avoid overmixing and keeps your filling light and airy.
- Remember to bake at the recommended temperature of 325°F for even cooking, and let the bars cool completely before adding the cherry topping for the best flavor and presentation.
Black Forest Cheesecake Bars Recipe FAQs
What type of chocolate cookies should I use for the crust?
I recommend using chocolate sandwich cookies, like Oreos, as they create a wonderfully rich and flavorful base. Just be sure to remove the cream filling before crushing!
How do I store leftovers?
Absolutely! Store your Black Forest Cheesecake Bars in an airtight container in the refrigerator for up to 5 days. This keeps them fresh and delicious while making it easy to grab a sweet treat when the craving strikes!
Can I freeze these bars?
Yes, you can! To freeze, wrap each bar tightly in plastic wrap, then place them in a freezer-safe bag or container to prevent freezer burn. They’ll keep well for up to 3 months. When you’re ready to enjoy one, just transfer it to the fridge for about 4-6 hours or overnight to thaw.
What if my cheesecake filling is lumpy?
No worries! If your cheesecake filling turns out lumpy, it’s usually due to not having the cream cheese softened enough. Next time, make sure it sits at room temperature for at least 30 minutes before mixing. Also, beating it for a longer time at medium speed should help create that smooth and creamy texture.
Can these bars be made gluten-free?
Absolutely! To make your Black Forest Cheesecake Bars gluten-free, simply substitute the chocolate cookies with a gluten-free cookie option, and confirm that all other ingredients are gluten-free as well. You can still enjoy this delightful dessert guilt-free!
Is there a way to make the cherry topping thicker?
Yes! If you’d like a thicker cherry topping, mix 1 tablespoon of cornstarch with 1 tablespoon of cold water to create a slurry. Add this to your cherry pie filling while heating it on the stove, stirring continuously until it thickens to your desired consistency. This can elevate the flavor and texture beautifully!
Black Forest Cheesecake Bars
Ingredients
- 1 cup Chocolate cookie crumbs
- 1/2 cup Unsalted butter, melted
- 1/4 cup Sugar
- 16 oz Cream cheese, softened
- 1/2 cup Sugar
- 2 large Eggs
- 1 tsp Vanilla extract
- 1/2 cup Sour cream
- 1/4 cup Cocoa powder
- 1 can Cherry pie filling
- 1 tbsp Cornstarch (optional)
- 2 tbsp Water (optional)
Method
- Preheat your oven to 325°F (160°C). Line an 8x8-inch baking pan with parchment paper, allowing some overhang.
- Mix the chocolate cookie crumbs, melted butter, and sugar in a medium bowl until well combined.
- Press the mixture firmly into the bottom of the prepared baking pan. Bake for 10 minutes and let cool completely.
- Beat cream cheese and sugar until smooth. Add eggs one at a time, then stir in vanilla, sour cream, and cocoa powder.
- Pour the cheesecake filling over the cooled crust, spreading evenly.
- Bake for 25-30 minutes until set and lightly golden. Allow to cool.
- Combine cherry pie filling with cornstarch and water in a small saucepan over medium heat. Stir until it thickens.
- Let the topping cool slightly, then spread evenly over the cooled cheesecake layer.
- Cover and refrigerate for at least 2 hours before serving.
- Lift out of the pan using the parchment overhang, cut into bars, and enjoy!

Leave a Comment