There’s something enchanting about layering flavors in desserts, and this Tiramisu Tart delivers all that magic and more. Picture this: the bold aroma of fresh coffee mingling with the rich essence of succulent mascarpone, all nestled in a decadent cocoa-infused crust. I first whipped up this creation while hunting for a show-stopping dessert to impress friends during a cozy dinner party. Little did I know, it would become my go-to sweet treat for every occasion!
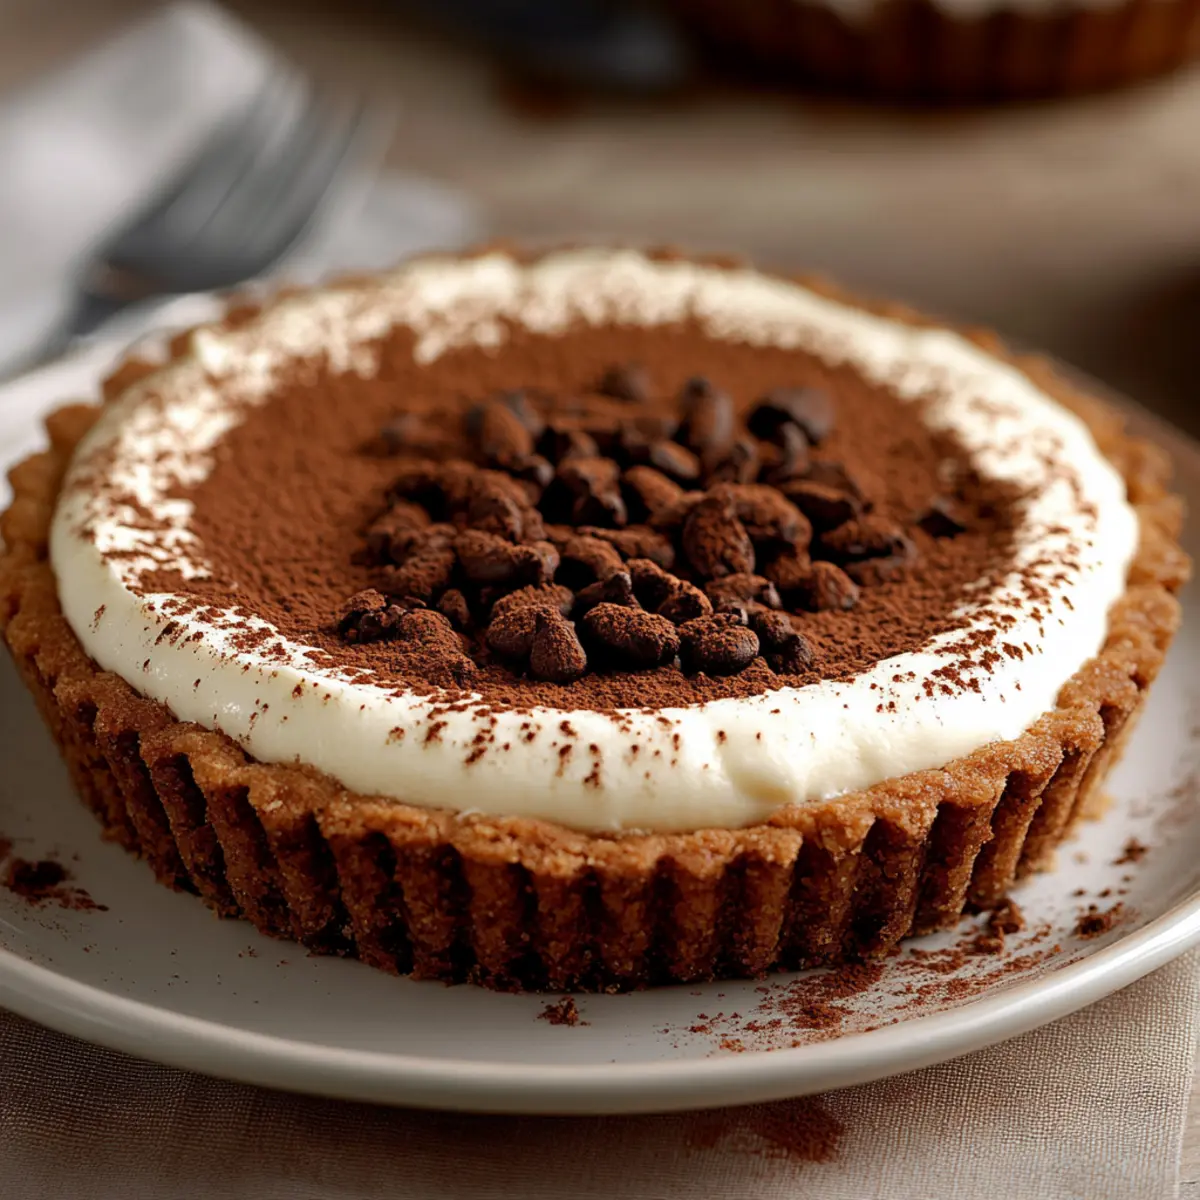
This delightful tart strikes the perfect balance between creamy and crisp, showcasing the classic flavors of tiramisu while offering a twist that will wow any chocolate lover. Best of all? It’s surprisingly easy to put together, making it an ideal choice for anyone craving a taste of homemade indulgence without the fuss. So, whether you’re looking to elevate your next gathering or simply pamper yourself with a slice of heaven, join me as I guide you through the art of crafting this irresistible Tiramisu Tart!
Why You'll Love This Tiramisu Tart
- This Tiramisu Tart is incredibly easy to make, allowing even novice bakers to impress with a stunning dessert.
- The rich flavors of coffee and mascarpone blend perfectly, delivering a deliciously decadent treat that everyone will love.
- Its versatility shines through as it can be enjoyed at various celebrations or simply as a sweet indulgence at home.
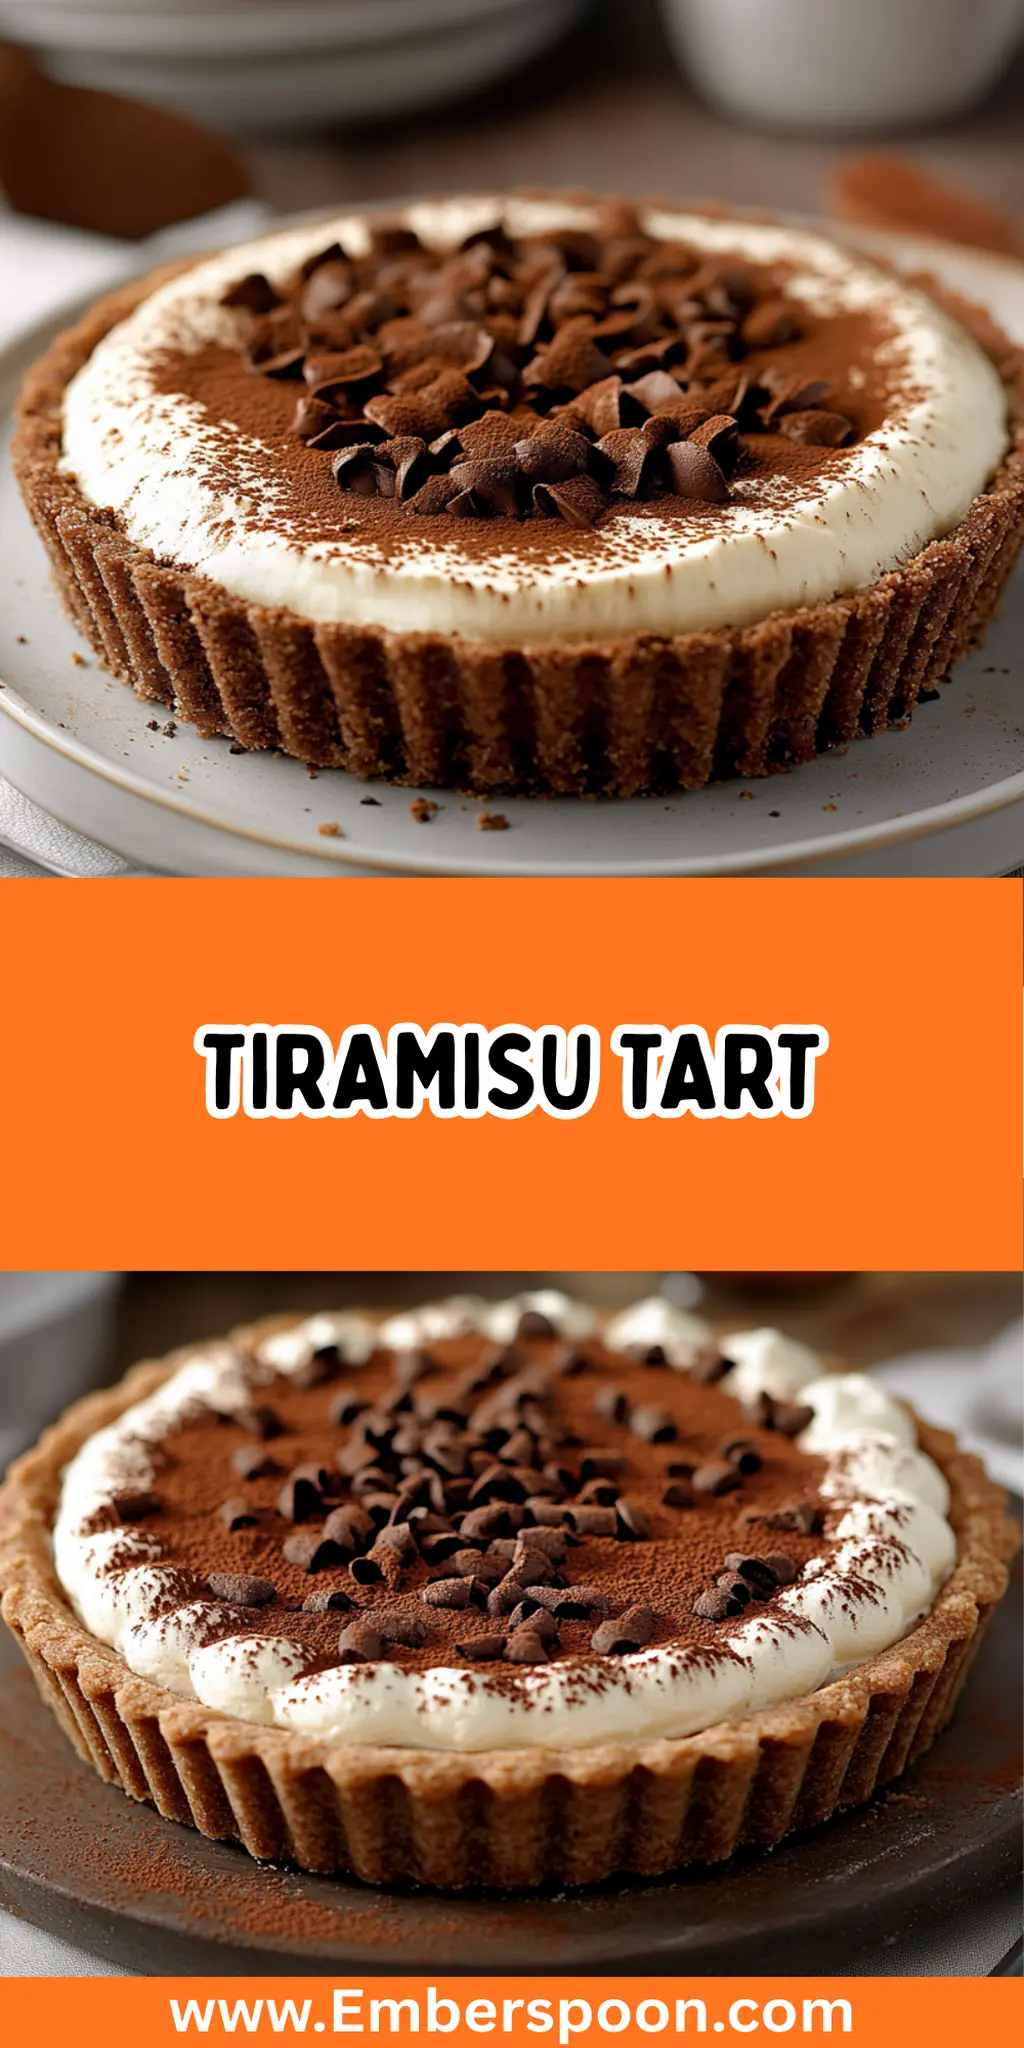
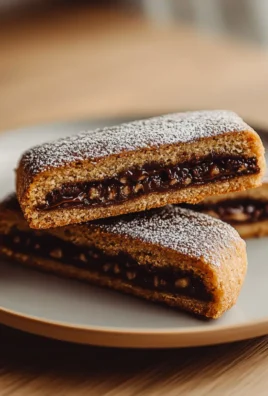
- The visual appeal of layered ladyfingers and a dusting of cocoa makes it a showstopper on any dessert table.
Tiramisu Tart Ingredients
For the Crust
- All-purpose flour – provides the base for a tender, flaky crust.
- Unsweetened cocoa powder – adds a rich chocolate flavor and lovely color to the crust.
- Powdered sugar – sweetens the crust without adding graininess.
- Unsalted butter – cold and cubed for a perfectly flaky texture.
- Large egg yolk – enriches the dough and helps bind the ingredients.
- Cold water – adds moisture as needed to bring the dough together.
For the Filling
- Mascarpone cheese – gives the tart its deliciously creamy texture.
- Heavy cream – whipped to light and airy peaks for a luscious filling.
- Granulated sugar – sweetens the filling to balance the coffee flavors.
- Vanilla extract – enhances the overall flavor profile with warmth.
- Strong brewed coffee – the star ingredient that brings that classic tiramisu taste.
- Coffee liqueur (optional) – adds an extra depth of flavor if you like a boozy kick.
For Assembly and Garnish
- Ladyfingers – about 12–15 to create layers of delightful softness.
- Cocoa powder – for dusting, adding a touch of elegance and flavor.
- Chocolate shavings (optional) – a luxurious garnish to impress your guests.
- Coffee beans (for garnish, optional) – for a charming and aromatic finishing touch.
Embrace the joy of creating this irresistible Tiramisu Tart and delight your loved ones with each decadent slice!
How to Make Tiramisu Tart
-
Preheat your oven to 350°F (175°C) to ensure it’s ready for baking. This step is essential for achieving the perfect tart crust.
-
Mix together the flour, cocoa powder, and powdered sugar in a mixing bowl. This combination will form the basis for your rich tart crust.
-
Combine the cold, cubed butter with the dry mixture. Use your fingers or a pastry cutter until it resembles coarse crumbs; this gives the crust its flakiness.
-
Add the egg yolk to the mixture, blending until combined. If it feels too dry, incorporate cold water, one tablespoon at a time, until the dough holds together.
-
Press the dough into a 9-inch tart pan, ensuring it’s evenly distributed across the bottom and up the sides. Prick the bottom with a fork to prevent bubbling during baking.
-
Bake in the preheated oven for 15–20 minutes or until set. You’ll know it’s ready when the crust looks firm and slightly dry. Let it cool completely.
-
Whip the heavy cream in a mixing bowl until soft peaks form. This gives your filling a light and airy texture that beautifully complements the rich mascarpone.
-
Combine the mascarpone cheese and vanilla extract in another bowl. Carefully fold the whipped cream into the mascarpone until you have a smooth, well-blended mixture.
-
Dip each ladyfinger quickly into the combined brewed coffee and coffee liqueur (if using). Ensure they are soaked but not soggy, for the best texture.
-
Layer soaked ladyfingers in the cooled tart crust, followed by half of the mascarpone filling, spreading it evenly. Repeat with another layer of soaked ladyfingers and the remaining filling.
-
Cover the tart with plastic wrap. Refrigerate for at least 2 hours to let the flavors meld and the tart set; this is where the magic happens!
-
Dust the top of the chilled tart with cocoa powder using a fine sieve before serving. This adds a touch of elegance and enhances the chocolate flavor.
-
Garnish with optional chocolate shavings and coffee beans for that extra special touch, making your tart truly irresistible.
-
Slice the tart into portions and serve it chilled to enjoy the delightful layers of flavors and textures.
Optional: Top with a sprinkle of cocoa powder for an elegant finish.
Exact quantities are listed in the recipe card below.
What to Serve with Tiramisu Tart?
Indulging in a slice of this luxurious tart is a blissful experience; elevating that moment with the perfect accompaniments makes it even more delightful.
- Espresso: A small cup of rich espresso complements the coffee flavors beautifully, creating a balance that coffee lovers will adore.
- Whipped Cream: A dollop of lightly sweetened whipped cream adds a fluffy, airy texture that contrasts perfectly with the creamy tart.
- Fresh Berries: Tossed raspberries or strawberries provide a refreshing tartness that cuts through the richness, adding a pop of color and vibrancy on the plate.
- Chocolate Ice Cream: The creamy, cool chocolate ice cream offers a delightful temperature contrast and adds another layer of chocolate flavor to the dessert.
- Frangelico: This hazelnut liqueur enhances the nuttiness and is a sweet companion to the coffee notes, perfect for a post-dinner treat.
- Chocolate-Covered Almonds: Crunchy and slightly bitter, these nuts offer a wonderful textural contrast and make for a great paired snack on the side.
- Coconut Macaroons: With their chewy texture and hint of sweetness, these treats pair nicely with the tart, creating a delicious duo.
- Mint Tea: A refreshing cup of mint tea cleanses the palate after each rich bite, making it a perfect soothing companion.
- Fruit Tart: For a lighter dessert option, a fresh fruit tart provides a refreshing and visually appealing choice alongside the decadent tiramisu.
How to Store and Freeze Tiramisu Tart
Fridge: Store any leftover Tiramisu Tart tightly covered in plastic wrap or an airtight container for up to 3 days. This keeps it fresh and maintains its delightful flavors!
Freezer: Freeze the tart before adding garnishes for up to 2 months. Wrap it tightly in plastic wrap and aluminum foil to prevent freezer burn.
Reheating: Thaw the frozen Tiramisu Tart in the fridge overnight before serving. Avoid reheating in the oven or microwave, as it’s best enjoyed chilled!
Garnishing: If you plan to freeze, add cocoa powder, chocolate shavings, and coffee beans only after thawing to retain their vibrant look and flavor.
Tiramisu Tart Variations
Feel free to personalize this Tiramisu Tart to suit your taste buds and dietary needs; the possibilities are endless!
-
Gluten-Free: Use almond flour or a gluten-free all-purpose blend for the crust and enjoy a deliciously adaptable treat.
-
Vegan: Substitute the mascarpone with silken tofu blended until smooth, and whip coconut cream for an equally delightful filling.
-
Nutty Flavor: Incorporate ground hazelnuts or almonds into the crust to give it an extra layer of flavor and texture.
-
Boozy Twist: For a unique flavor profile, try adding flavored liqueurs like hazelnut or amaretto to the coffee mixture for an extra kick.
-
Minty Fresh: Add a few drops of peppermint extract to the mascarpone filling for a refreshing mint tiramisu variation that’s perfect for holiday gatherings.
-
Fruity Layer: Introduce a layer of thinly sliced strawberries or raspberries between the ladyfingers for a burst of fresh fruit flavor with each bite.
-
Dark Chocolate: Use dark chocolate cocoa powder in the crust for a richer chocolate experience that pairs beautifully with coffee.
-
Spiced Delight: Sprinkle in some cinnamon or nutmeg into the mascarpone filling for a warm, cozy aroma that envelops your tart in comfort.
Make Ahead Options
These Tiramisu Tart preparations are perfect for busy home cooks looking to save time! You can prepare the tart crust up to 3 days in advance; simply bake, cool, and store it wrapped in plastic wrap at room temperature. Additionally, the mascarpone filling can be made the night before and stored in the fridge (just be sure to layer it with plastic wrap to prevent surface hardening). On the day you plan to serve, assemble the tart by layering soaked ladyfingers and mascarpone filling, then refrigerate for at least 2 hours to set. Dust with cocoa powder just before serving for a fresh look. This method ensures your Tiramisu Tart is just as delicious and perfect for stress-free entertaining!
Chef's Helpful Tips
- When making Tiramisu Tart, ensure your butter is cold and cubed for a flaky crust, as warm butter can lead to a dense texture.
- Avoid overmixing the tart dough once you add the flour to keep it tender.
- When dipping ladyfingers in the coffee mixture, do it quickly to prevent them from becoming too soggy, which could ruin the tart’s structure.
- Always refrigerate the tart for at least two hours to allow the flavors to meld and the filling to set properly before serving.
Tiramisu Tart Recipe FAQs
How do I choose the right coffee for Tiramisu Tart?
Absolutely! Opt for a strong brewed coffee that you love drinking on its own, since the flavor will shine through in the tart. Espresso is an excellent choice for its robust flavor. Just make sure it’s cooled before dipping the ladyfingers to maintain their integrity.
How should I store leftover Tiramisu Tart?
Very! Any leftover Tiramisu Tart should be stored tightly covered in plastic wrap or an airtight container in the fridge for up to 3 days. This will help maintain its creamy texture and delicious flavors. Just remember, the longer you wait to enjoy it, the softer the ladyfingers will become!
Can I freeze Tiramisu Tart?
Yes! You can freeze Tiramisu Tart for up to 2 months, but make sure to wrap it tightly in plastic wrap and then in aluminum foil to prevent freezer burn. To thaw, simply place it in the fridge overnight before serving. Avoid refrigating immediately after making to enjoy it chilled and at its finest!
What if my tart crust is too crumbly?
If your tart crust is too crumbly, it may lack enough moisture. Start by adding cold water, one tablespoon at a time, until the dough holds together. Make sure your butter is cold and cubed, as warm butter can lead to a dense texture. Press the dough firmly into the tart pan to eliminate any cracks.
Can I make Tiramisu Tart dairy-free?
Absolutely! To make a dairy-free Tiramisu Tart, swap the mascarpone for a non-dairy cream cheese or a similar substitute. Use coconut cream instead of heavy cream, and check for dairy-free ladyfinger brands or use homemade alternatives.
How can I tell when the tart is ready to eat?
Your Tiramisu Tart is ready to eat after being chilled for at least 2 hours in the fridge, allowing the filling to set properly. You’ll know it’s ready when it feels firm, and the flavors have melded beautifully together. Enjoy each delicious slice!
Tiramisu Tart
Ingredients
- 1 cup all-purpose flour
- 1/4 cup unsweetened cocoa powder
- 1/4 cup powdered sugar
- 1/2 cup unsalted butter cold and cubed
- 1 large egg yolk
- 1 cup mascarpone cheese
- 1 cup heavy cream whipped
- 1/2 cup granulated sugar
- 1 teaspoon vanilla extract
- 1 cup strong brewed coffee
- 1/4 cup coffee liqueur optional
- 12-15 pieces ladyfingers
- 1 tablespoon cocoa powder for dusting
- chocolate shavings optional
- coffee beans for garnish, optional
Method
- Preheat your oven to 350°F (175°C).
- Mix together the flour, cocoa powder, and powdered sugar in a mixing bowl.
- Combine the cold, cubed butter with the dry mixture until it resembles coarse crumbs.
- Add the egg yolk and blend. If too dry, incorporate cold water as needed.
- Press the dough into a 9-inch tart pan, prick the bottom with a fork.
- Bake for 15-20 minutes until set, then let cool completely.
- Whip the heavy cream in a bowl until soft peaks form.
- Combine the mascarpone cheese and vanilla extract, then fold in the whipped cream.
- Dip each ladyfinger quickly into brewed coffee and coffee liqueur, then layer in crust.
- Spread half of the mascarpone filling over the ladyfingers, then repeat layers.
- Cover with plastic wrap and refrigerate for at least 2 hours.
- Dust with cocoa powder before serving, garnish with chocolate shavings and coffee beans.
- Slice and serve chilled.
Leave a Comment