There’s a certain joy that comes with the first bite of a creamy cheesecake, and when it’s mini and no-bake, that joy multiplies! Picture a warm afternoon spent in the kitchen, creating tiny treats that instantly elevate any gathering. I stumbled upon this delightful recipe while challenging myself to whip up something special without turning on the oven. The result? Mini No-Bake Cheesecakes that are not only stunning to look at but also ridiculously easy to make.
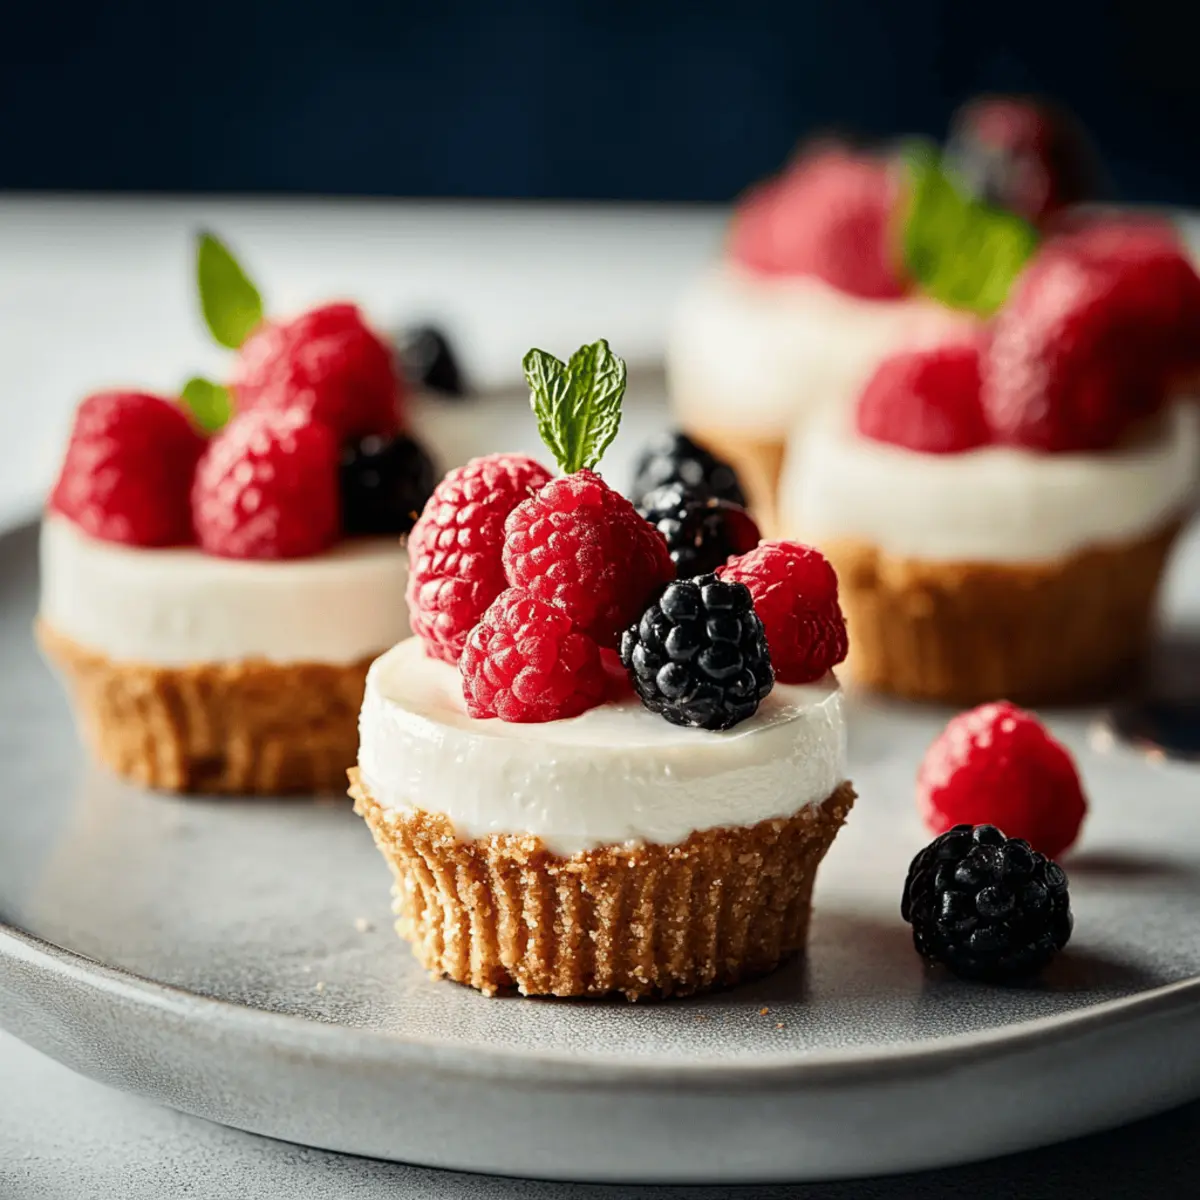
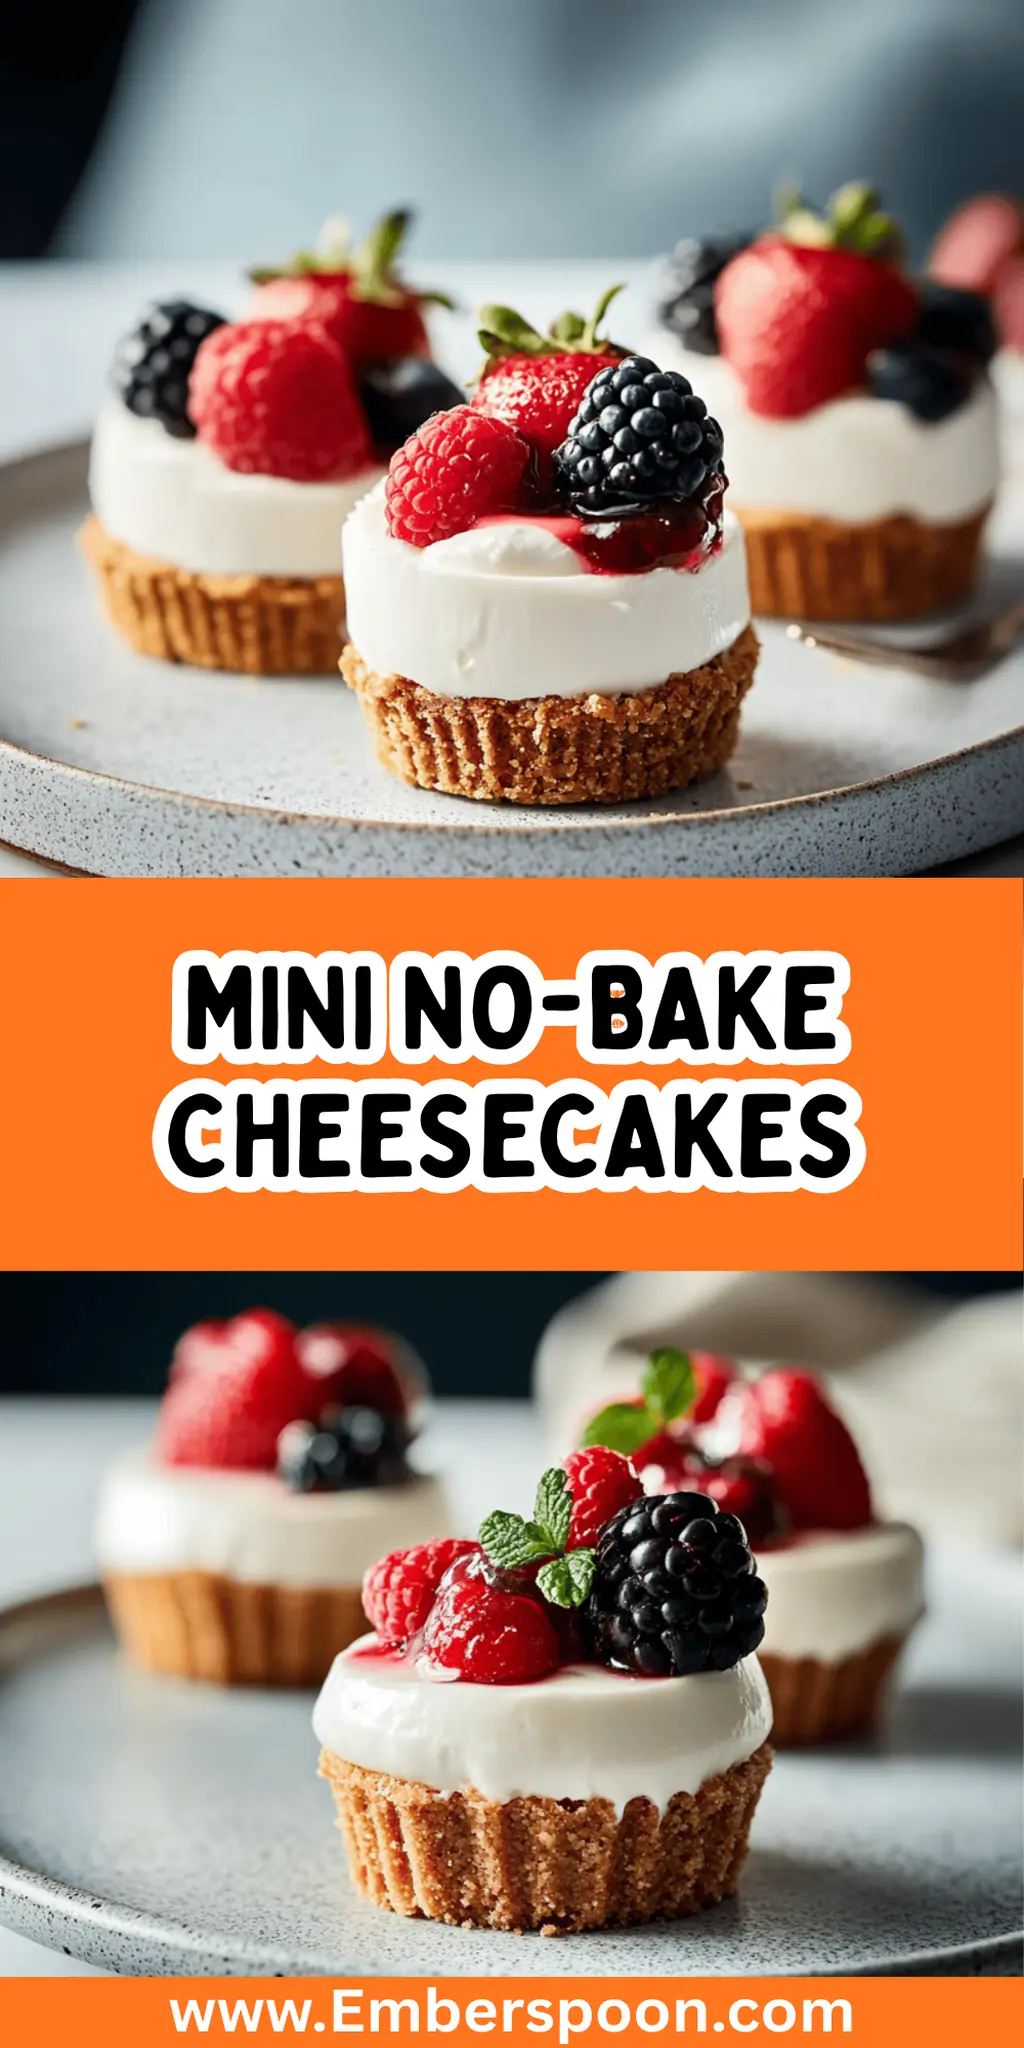
These little gems, with their buttery graham cracker crusts and smooth, velvety filling, are perfect for impressing guests without the hassle. Whether you’re hosting a casual get-together or wanting a sweet indulgence after a long day, these cheesecakes tick all the boxes. Plus, they offer endless flavor possibilities when it comes to toppings! Let’s gather our ingredients and transform simple pantry staples into a show-stopping dessert that’s sure to become a favorite.
Why You'll Love This Mini No-Bake Cheesecakes
- This recipe is incredibly easy to follow, making it perfect for bakers of all skill levels.
- You’ll be amazed at how quickly these mini cheesecakes come together, leaving you more time to enjoy with friends and family.
- Their delightful flavors and creamy texture will definitely please any crowd, ensuring your treats are the highlight of any gathering.
- Plus, the versatility of toppings allows you to customize each cheesecake to suit any occasion or preference.
- Each mini cheesecake is visually appealing, making them an impressive addition to your dessert table.
- Enjoy the perfect balance of simplicity and elegance with this delightful treat!
Mini No-Bake Cheesecake Ingredients
Elevate your dessert game with these simple ingredients!
For the Crust
- Graham cracker crumbs – a classic base for any cheesecake, these add a delightful crunch.
- Brown sugar – enhances the crust’s richness with a hint of caramel flavor.
- Unsalted butter – binds everything together while giving a buttery flavor and texture.
For the Filling
- Cold heavy cream – whipped to perfection, this adds a light and airy texture to the filling.
- Full-fat cream cheese – delivers the creamy, rich base that true cheesecake lovers crave.
- Granulated sugar – sweetens the filling just enough to balance the tanginess of cream cheese.
- Sour cream or plain yogurt – adds tanginess and creaminess; feel free to substitute for a lighter option.
- Fresh lemon juice – brightens up the filling with a fresh zest; essential for flavor.
- Pure vanilla extract – infuses a warm, inviting aroma into the cheesecake.
For Topping (Optional)
- Desired toppings – the sky’s the limit! Fruits, chocolate drizzle, or whipped cream can take your mini cheesecakes to the next level.
Ready to create these delicious Mini No-Bake Cheesecakes? Let’s get started!
How to Make Mini No-Bake Cheesecakes
-
Prepare the Pan: Line a muffin pan with cupcake liners and set it aside. This helps with easy removal after chilling.
-
Mix the Crust: In a medium bowl, combine graham cracker crumbs, brown sugar, and melted butter until it resembles wet sand. This mixture forms the tasty crust for your mini cheesecakes.
-
Form the Crusts: Press 1–2 tablespoons of the crust mixture firmly into the bottom of each cupcake liner. Chill the pan while you prepare the filling to set the crust.
-
Whip the Cream: Using a mixer, whip the cold heavy cream on high speed until stiff peaks form. This will add a lovely lightness to your cheesecake filling!
-
Cream the Cheese: In a separate bowl, beat the cream cheese and granulated sugar until the mixture is smooth and creamy. This is the heart of your mini cheesecakes!
-
Add Flavor: Stir in the sour cream, lemon juice, and vanilla, mixing until all ingredients are well combined. This step infuses your filling with delicious flavors.
-
Fold in the Whipped Cream: Gently fold the whipped cream into the cream cheese mixture until fully incorporated. Be careful not to deflate the whipped cream, as you want a fluffy filling.
-
Fill the Cups: Spoon or pipe the cheesecake filling onto the prepared crusts, creating a smooth top. Let your creativity shine as you fill them generously!
-
Chill the Cheesecakes: Refrigerate for at least 3 hours, or until set. This allows the flavors to meld beautifully and the texture to firm up.
-
Add Toppings: Before serving, add your desired toppings to each cheesecake for a burst of color and flavor. Get creative with fruits or chocolate!
Optional: Try adding fresh berries or a drizzle of chocolate sauce for an elegant touch.
Exact quantities are listed in the recipe card below.
Make Ahead Options
These Mini No-Bake Cheesecakes are perfect for busy home cooks looking to save time during hectic weeknights! You can prepare the crusts and filling up to 24 hours in advance; simply store them separately in the refrigerator to maintain their freshness. For the crust, press the mixture into the cupcake liners and keep them covered, while you whip the heavy cream and mix the filling. When you’re ready to enjoy these delicious treats, just spoon or pipe the filling onto the prepped crusts and let them chill for at least 3 hours until set. This way, you’ll have stunning, ready-to-serve desserts that are just as delicious as if you made them fresh that day!
What to Serve with Mini No-Bake Cheesecakes?
Elevate your dessert experience with thoughtful pairings that will delight the senses and leave everyone craving more!
- Fresh Berries: A medley of strawberries, blueberries, and raspberries adds a burst of tartness that pairs beautifully with the creamy filling.
- Chocolate Sauce: Drizzle rich, warm chocolate sauce over the top for a decadent finish that brings a delightful contrast in flavors.
- Whipped Cream: Light and airy whipped cream on top offers a classic touch, enhancing the overall indulgence of each mini cheesecake.
- Mint Leaves: A few sprigs of fresh mint not only brighten the plate but add a refreshing hint that complements the sweetness perfectly.
- Lemon Curd: A spoonful of tangy lemon curd provides a zesty contrast, enhancing the creaminess while adding an elegant touch to your dessert spread.
Serve these delightful mini cheesecakes alongside a cup of aromatic coffee or tea for a comforting end to any meal. Each pairing enhances the experience, making every bite a celebration!
How to Store and Freeze Mini No-Bake Cheesecakes
Fridge: Keep your mini no-bake cheesecakes in an airtight container in the fridge for up to 5 days. This preserves their creamy texture and flavors.
Freezer: For longer storage, freeze individual cheesecakes in airtight containers for up to 2 months. Thaw in the fridge overnight before serving.
Servings: When planning for gatherings, consider making extra batches. These delightful treats are always a hit and can be stored for future indulgence!
Reheating: These no-bake cheesecakes are best enjoyed chilled, so there’s no need to reheat! Just top them with your favorite fruits or sauces before serving.
Mini No-Bake Cheesecake Variations
Get ready to explore exciting twists on this beloved dessert that allow your creativity to shine!
-
Gluten-Free: Substitute graham cracker crumbs with almond or gluten-free cookie crumbs for a deliciously different crust.
-
Fruit-Infused: Swirl in pureed berries or citrus into the cheesecake filling for a refreshing fruity kick.
-
Chocolate Lovers: Mix in melted chocolate or cocoa powder into the filling for a rich, decadent treat that satisfies any chocolate craving.
-
Nutty Crunch: Add crushed nuts like walnuts or pecans to the crust mixture for an extra layer of flavor and texture.
-
Flavor Extracts: Experiment with extracts like almond or mint instead of vanilla to give your cheesecakes a whole new dimension of flavor.
-
Savory Twist: For an unexpected treat, incorporate a hint of herb like rosemary or basil into the filling for a sophisticated, savory cheesecake.
-
Reduced Sugar: Substitute part of the granulated sugar with a natural sweetener like honey or agave for a lighter twist.
-
Mini Dessert Jars: Instead of muffin liners, layer the crust and filling in small mason jars for a cute, portable dessert option perfect for parties!
These variations will not only challenge your baking skills but also ensure that your mini cheesecakes cater to everyone’s tastes at the table!
Chef's Helpful Tips
- For the Mini No-Bake Cheesecakes, be sure to press the graham cracker crust firmly into the muffin liners to create a stable base.
- A common mistake is overmixing the cream cheese and sugar, which can lead to a dense filling instead of a light one.
- When whipping the heavy cream, ensure it is cold and use high speed to achieve stiff peaks for the best texture.
- Lastly, refrigerate the cheesecakes for the full three hours to allow them to set properly and enhance their flavors before serving.
Mini No-Bake Cheesecakes Recipe FAQs
How do I choose ripe ingredients for my Mini No-Bake Cheesecakes?
Absolutely! When selecting cream cheese, look for a full-fat brick variety that is soft and creamy; it should be easy to blend without lumps. A good tip is to let it sit at room temperature for about 30 minutes before using. For the sour cream or yogurt, choose one that is fresh and creamy. Fresh lemon juice will have a bright, tangy aroma, while graham crackers should be crispy without any signs of moisture.
What is the best way to store Mini No-Bake Cheesecakes?
Very simple! Store your mini cheesecakes in an airtight container in the refrigerator for up to 5 days. Make sure they are fully chilled for the best texture before closing the container. If you need to stack them, place a layer of parchment paper between the layers to prevent sticking and preserve their beautiful toppings.
Can I freeze Mini No-Bake Cheesecakes?
Absolutely! To freeze your mini cheesecakes, carefully remove them from the muffin pan and place each cheesecake in an airtight container, separating layers with parchment paper. They can be stored like this for up to 2 months. When you’re ready to enjoy them, simply transfer them to the fridge and let them thaw overnight. This way, you’ll have delicious desserts ready for unexpected guests or a sweet treat for yourself!
What should I do if my filling is too runny or dense?
A common issue is overmixing the filling. If your filling is too dense, try folding the whipped cream in more gently to maintain the airiness. Alternatively, if it’s too runny, ensure that you whipped the heavy cream to stiff peaks before incorporating it into the cream cheese mixture. Using a mixer at too low of a speed might prevent the cream from thickening enough. Make sure all ingredients are cold, as warmer components can affect the stability of the filling.
Are Mini No-Bake Cheesecakes suitable for people with allergies?
If there are specific allergies to consider, the traditional recipe contains dairy and gluten, primarily from cream cheese and graham crackers. For a gluten-free variation, use gluten-free graham cracker alternatives. You can also replace cream cheese with a dairy-free cream cheese substitute and use coconut cream for a non-dairy option. Always check ingredient labels for allergens, and customize toppings to ensure they meet dietary needs.
Mini No-bake Cheesecakes
Ingredients
- 1 cup Graham cracker crumbs
- 1/4 cup Brown sugar
- 1/2 cup Unsalted butter, melted
- 1 cup Cold heavy cream
- 8 oz Full-fat cream cheese
- 1/3 cup Granulated sugar
- 1/2 cup Sour cream or plain yogurt
- 1 tbsp Fresh lemon juice
- 1 tsp Pure vanilla extract
- Desired toppings (fruits, chocolate drizzle, whipped cream)
Method
- Prepare the Pan: Line a muffin pan with cupcake liners and set it aside.
- Mix the Crust: In a medium bowl, combine graham cracker crumbs, brown sugar, and melted butter until it resembles wet sand.
- Form the Crusts: Press 1–2 tablespoons of the crust mixture firmly into the bottom of each cupcake liner. Chill the pan while you prepare the filling.
- Whip the Cream: Using a mixer, whip the cold heavy cream on high speed until stiff peaks form.
- Cream the Cheese: In a separate bowl, beat the cream cheese and granulated sugar until the mixture is smooth and creamy.
- Add Flavor: Stir in the sour cream, lemon juice, and vanilla, mixing until all ingredients are well combined.
- Fold in the Whipped Cream: Gently fold the whipped cream into the cream cheese mixture until fully incorporated.
- Fill the Cups: Spoon or pipe the cheesecake filling onto the prepared crusts.
- Chill the Cheesecakes: Refrigerate for at least 3 hours, or until set.
- Add Toppings: Before serving, add your desired toppings to each cheesecake.


Leave a Comment